
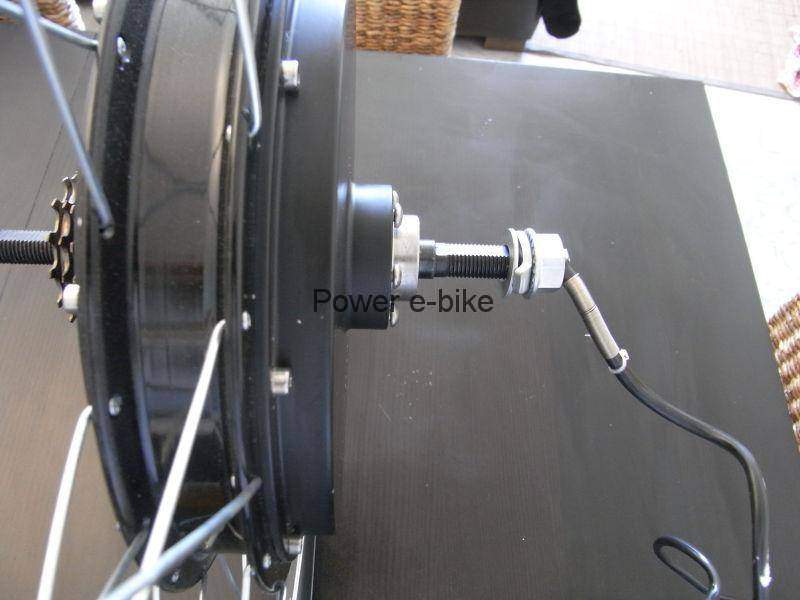
Fitting the Nine Continents RH205b Power E-bike motor on a Nakamura MTB
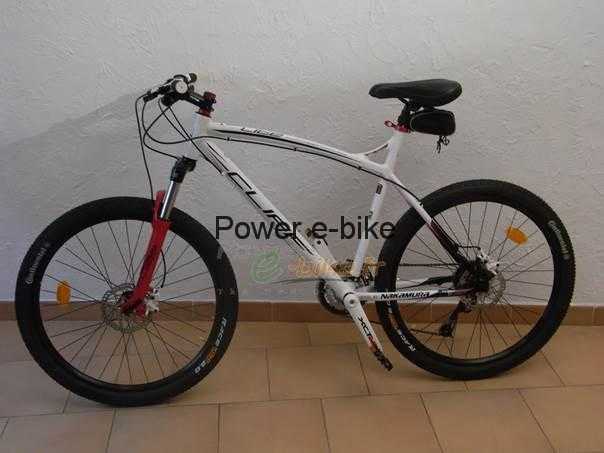
Example of fitting the RH205b motor on a Nakamura Cliff MTB from Intersport:
Nakamura Cliff:
- Assembly time = 40 min
- People required = 1
- Difficulty level = 6/10
This example covers only fitting the motor wheel onto the existing bike. Other components (controller, battery, accessories) still have to be installed to get a fully working e-bike!
Required tools
- side cutters
- file
- 24 mm open-end wrench
- tyre levers
- cable tie (plastic clamp)
- optional: small screwdriver, hammer, centre punch
Step-by-step instructions
| Turn the bike upside down, resting it on the saddle and handlebars. Wedge it if needed! | 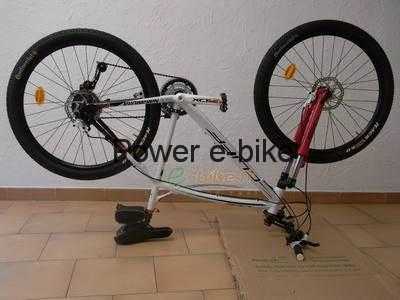 |
| Remove the rear wheel. | 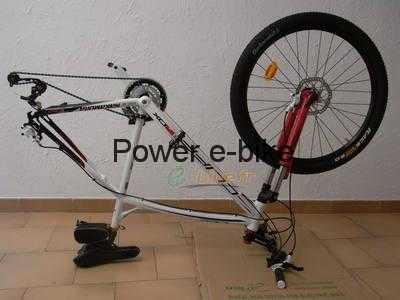 |
| Remove the tyre and the inner tube | 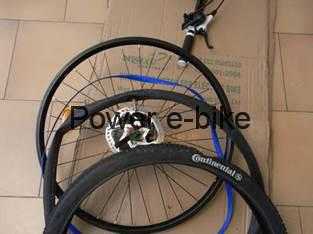 |
| Remove the rim tape… | 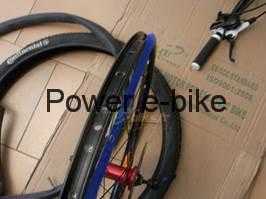 |
| …And the disc brake. These parts, recovered from the old wheel, will be fitted onto the new motor wheel. | 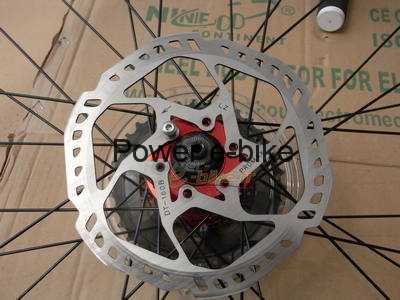 |
| Screw the freewheel onto the RH205S motor. | 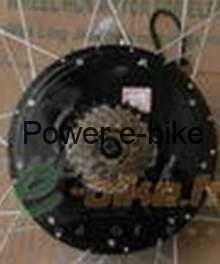 |
| Refit the disc brake. Caution: on some bike models, extra washers must be added to centre the brake disc in its caliper. | 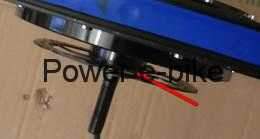 |
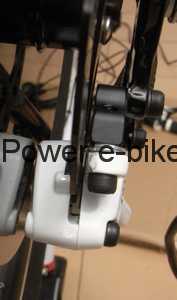 |
|
| Refit the rim tape, the inner tube and the tyre onto the motor wheel. | 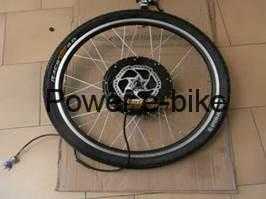 |
| Hold the new wheel against the bike and fit it. Caution: this step requires some care. When fitting the wheel, if needed, lightly file the dropouts (to remove a little paint) so that the motor axle seats without force. | 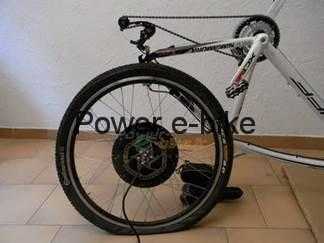 |
| Depending on the bike, the anti-rotation washers can be fitted inside or outside the frame. This step is very important for proper operation and safety. The motor is locked in place by these washers; correct fitting is essential! | 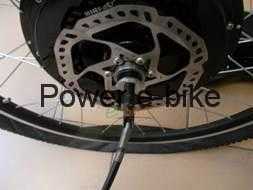 |
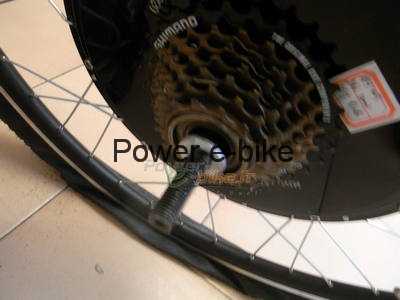 |
|
| If you need to place the washer inside the frame, remove the hall-sensor connector so that you can flip the washer to the desired orientation. | 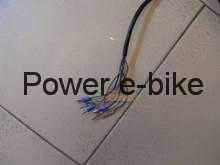 |
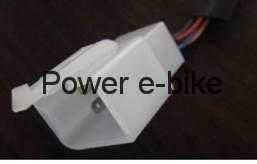 |
|
| Once the wheel is in place, the washers positioned and the axle fully seated in the dropouts, you can tighten the bolts. | 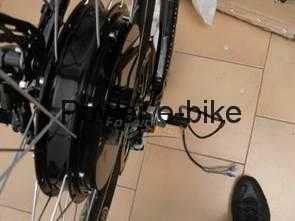 |
| Using a flat-head punch and a hammer, gently tap the anti-rotation washer so that its locking tab sits into the dropout notch. | 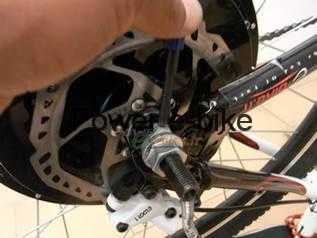 |
| With the wheel installed, check the rear derailleur. The H limit controls travel towards the smallest sprocket; L controls travel towards the largest. Follow the manufacturer’s instructions for limits and indexing. Check every gear without the chain running beyond the cassette. | 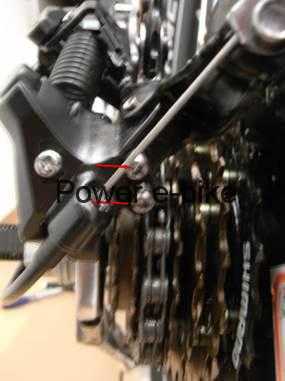 |
| Now that the wheel is fitted, you can turn the bike back over and tidy up the installation! | 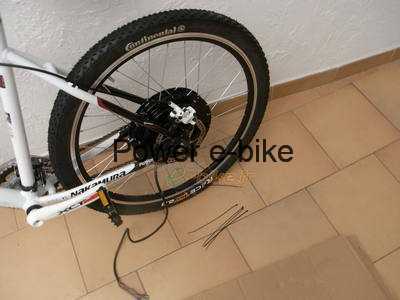 |
| Secure the motor cable with a cable tie. Route the cable along the frame to the controller. Position the cable "inside" the frame: if you lean the bike against a wall or a tree, the frame rubs instead of the motor cable. | 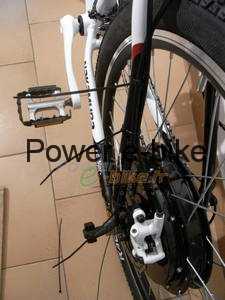 |
| Caution: under the heavy weight, the wheel spokes may lose tension after a few kilometres: they must therefore be checked and, if needed, re-tensioned with a spoke key (a quarter turn). The motor fitting is now complete! | 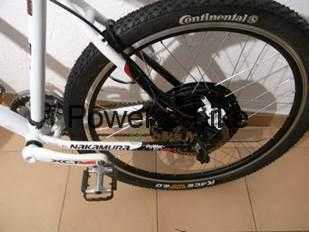 |