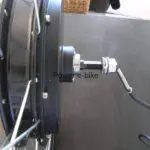


on

Fitting the Nine Continents RH205b Power E-bike motor on a Nakamura MTB
Example of fitting the RH205b motor on a Nakamura Cliff MTB from Intersport:
Nakamura Cliff:

- Assembly time = 40 min
- People required = 1
- Difficulty level = 6/10
This example covers only fitting the motor wheel onto the existing bike. Other components (controller, battery, accessories) still have to be installed to get a fully working e-bike!
Required tools
- side cutters
- file
- 24 mm open-end wrench
- tyre levers
- cable tie (plastic clamp)
- optional: small screwdriver, hammer, centre punch
Step-by-step instructions
| Turn the bike upside down, resting it on the saddle and handlebars. Wedge it if needed! | 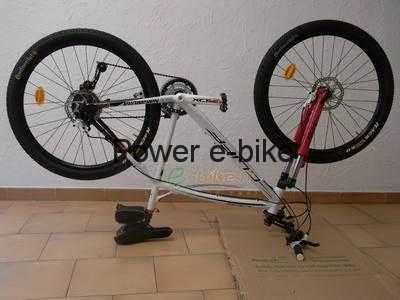 |
| Remove the rear wheel. | 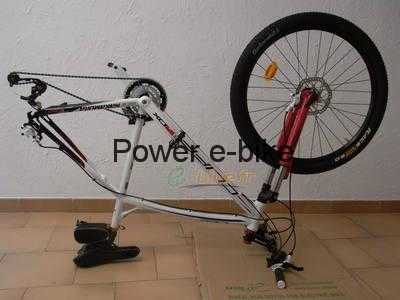 |
| Remove the tyre and the inner tube | 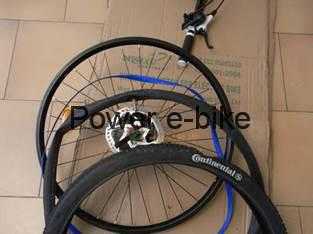 |
| Remove the rim tape… | 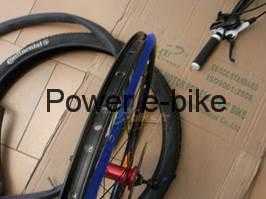 |
| …And the disc brake. These parts, recovered from the old wheel, will be fitted onto the new motor wheel. | 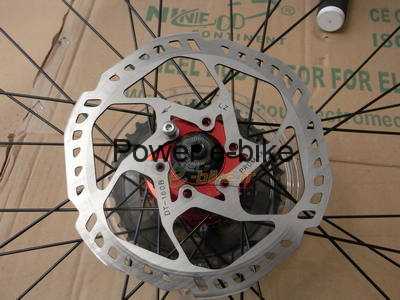 |
| Screw the freewheel onto the RH205S motor. | 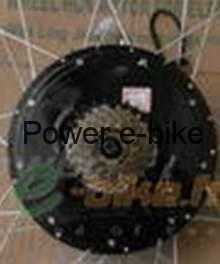 |
| Refit the disc brake. Caution: on some bike models, extra washers must be added to centre the brake disc in its caliper. | 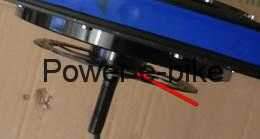 |
 | |
| Refit the rim tape, the inner tube and the tyre onto the motor wheel. | 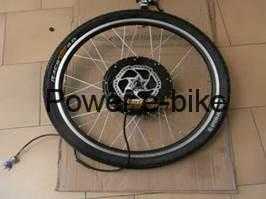 |
| Hold the new wheel against the bike and fit it. Caution: this step requires some care. When fitting the wheel, if needed, lightly file the dropouts (to remove a little paint) so that the motor axle seats without force. |  |
| Depending on the bike, the anti-rotation washers can be fitted inside or outside the frame. This step is very important for proper operation and safety. The motor is locked in place by these washers; correct fitting is essential! | 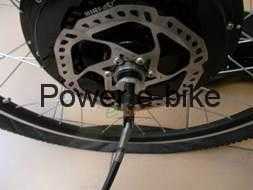 |
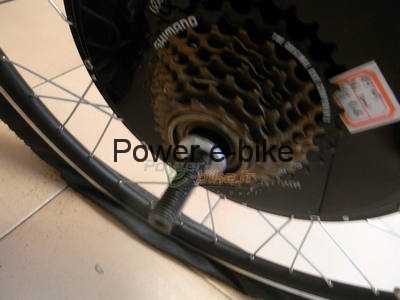 | |
| If you need to place the washer inside the frame, remove the hall-sensor connector so that you can flip the washer to the desired orientation. | 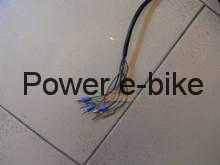 |
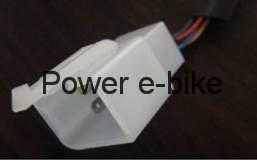 | |
| Once the wheel is in place, the washers positioned and the axle fully seated in the dropouts, you can tighten the bolts. | 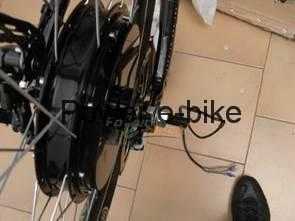 |
| Using a flat-head punch and a hammer, gently tap the anti-rotation washer so that its locking tab sits into the dropout notch. |  |
| The wheel is fitted; now adjust the derailleur. High limit screw: H / Low limit screw: LHigh limit screw – Tip: shift the derailleur onto the smallest sprocket, then push the derailleur with your thumb while pedalling with the other hand. The derailleur must be able to reach the largest sprocket without the chain coming off. If it does not move far enough inward, shifting onto the largest sprocket is difficult: unscrew the H screw. If it moves too far inward, the chain comes off: tighten the H screw. Low limit screw: shift the derailleur onto the smallest sprocket. If it does not move far enough outward, shifting onto the smallest sprocket is difficult: unscrew the L screw. If it moves too far outward, the chain comes off: tighten the L screw. | 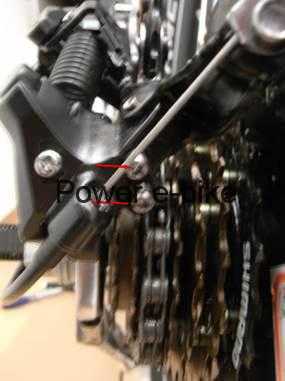 |
| Now that the wheel is fitted, you can turn the bike back over and tidy up the installation! | 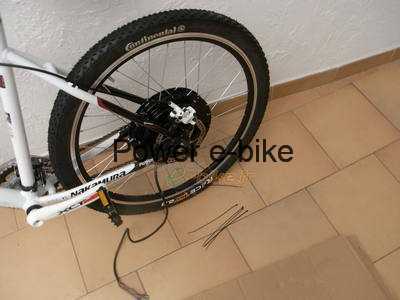 |
| Secure the motor cable with a cable tie. Route the cable along the frame to the controller. Position the cable "inside" the frame: if you lean the bike against a wall or a tree, the frame rubs instead of the motor cable. | 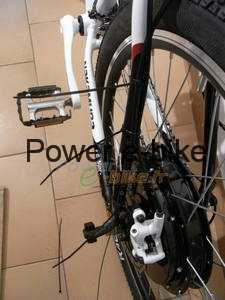 |
| Caution: under the heavy weight, the wheel spokes may lose tension after a few kilometres: they must therefore be checked and, if needed, re-tensioned with a spoke key (a quarter turn). The motor fitting is now complete! |  |