A cheap electric bike kit should be assessed as a complete system, not just by the advertised motor. This page revisits an older presentation of the direct-drive Nine Continent RH205 and explains its limits. It helps compare six areas: motorised wheel, battery, electronics, fittings, required work and maintenance. The old promotional description does not establish a current price or a guaranteed saving.
Cheap electric bike kit: understand the archive
The original article emphasised the RH205’s simple direct-drive design, without brushes or an internal reduction gear stage. That describes an architecture, not an absence of parts subject to wear. Bearings, the wheel, attachments, cables and connections still require attention. A promise of tens of thousands of kilometres is not a guaranteed lifetime for a particular build. Installation, use, maintenance and incidents also affect the outcome. Keep the historical description separate from a performance guarantee.
1. Motor and wheel: identify what is supplied
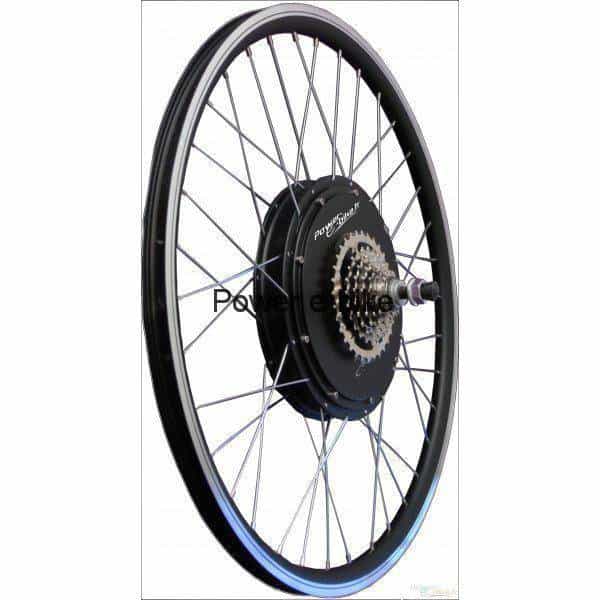
Compare a bare motor with a complete motorised wheel only after listing the contents. Check the rim, wheel build, intended diameter, axle, brakes and sprocket mounting. An existing bicycle part may be reusable, but that must be confirmed. Necessary adaptations do not disappear because the initial price is low. An incomplete wheel allowance distorts the comparison from the outset. Record missing items rather than assuming that everything shown in an illustration is included.
2. Battery and charger: confirm compatibility
Establish whether the battery, its mount and the charger are included. Record references and system instructions instead of matching only plug shapes or advertising figures. A connector that appears to fit does not prove electrical compatibility. The budget must cover a coherent, documented system suited to the journey. A cheaper battery is not automatically sufficient, and a stated capacity cannot guarantee range under your conditions. Do not use a mismatched charger to reduce the initial total.
3. Electronics: identify the useful functions
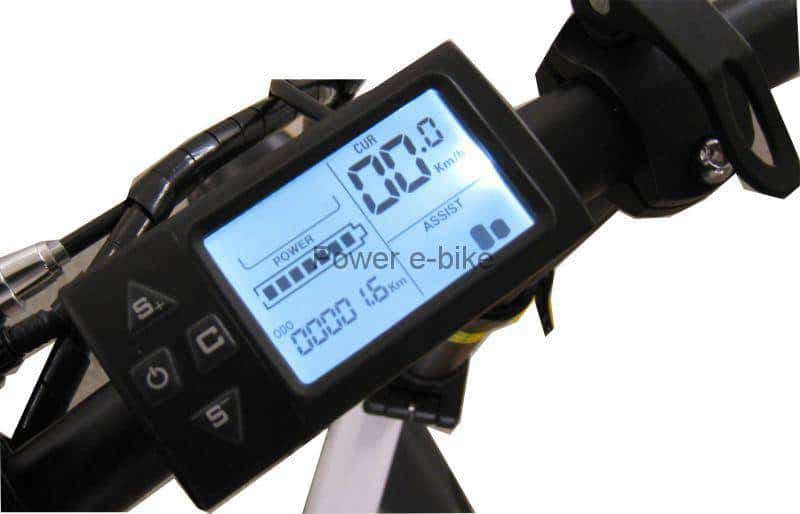
Check the controller, display, sensors and controls actually supplied. Note the references, intended wiring and settings described in the documentation. An additional screen does not necessarily improve operation or replace a missing sensor. Compare the functions required for the project rather than the number of accessories in a photograph. A catalogue image retained in this archive does not define the contents of a current offer. Unclear specifications should remain visible as uncertainties in the comparison.
4. Fittings and small parts: make a list
Battery mounts, antirotation hardware, spacers, connectors and cable routing need to be assessed against the intended installation. Do not treat every adaptation as a generic interchangeable part. List the tools required, missing items and compatibility checks still unresolved. A small fitting can prevent an installation from being completed correctly. Do not force a component or attachment to fit a budget worked out before the necessary checks. Follow the actual component instructions rather than copying an unrelated build.
5. Installation and testing: include the work
Preparation, installation, adjustment and checking take time even when that time is not invoiced. Separate work you can perform competently from operations needing qualified help. Component manuals remain the reference; this guide does not approve a particular installation. Check the rules for using the completed bicycle in the country concerned separately. A motor architecture or price does not establish compliance. Include the work needed to verify the finished system, rather than treating installation as complete when parts are attached.
6. Maintenance: plan for use and replacement parts
Find out about wear parts, replacement references and available documentation. Include tyres, brakes, drivetrain and the wheel rather than only the motor. Direct drive does not eliminate maintenance or failures in the complete system. Electrical repairs should not be improvised from similar-looking connectors. Missing history or an unidentified component is an uncertainty to record, not a saving already achieved. A low initial figure cannot establish how much future maintenance will cost for your use.
Compare packages with the same scope
For every option, use the same six areas and distinguish included items, additions and points to confirm. Calculate a total only after identifying the necessary components; keep unresolved questions and operating costs visible. Then compare compatibility and suitability for the route, rather than choosing from the headline price alone. This makes differences easier to understand without assuming that the cheapest kit is automatically the best. Retain the references used so the comparison can be checked later.
Two guides help complete the comparison:
Grin’s technical documentation distinguishes direct-drive and geared hub motors. Bosch battery guidance concerns its own systems and does not establish compatibility with a different kit. Grin · Bosch.