An electric bike motor can drive the front hub, the rear hub or the drivetrain at the cranks. Its location changes installation and maintenance checks; it does not determine the quality of the whole bicycle. Start with the existing bike and the intended journey rather than a promise of power or speed.
Electric bike motor: compare the complete system
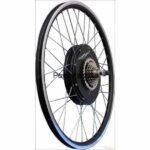
A hub motor drives the wheel in which it sits. A mid-drive normally transmits its effort through the bicycle drivetrain. This explains some mechanical differences without making either design a universal winner. Controls, sensors, the battery, settings and the condition of the bike also shape the result. Two bicycles advertised with the same power rating can therefore feel different. Location alone does not describe how smoothly assistance starts or stops.
Front hub: check the fork and attachment
A front installation leaves the rear drivetrain in place, but requires precise checks of the fork, axle, dropouts and brake. A rigid fork is not proof of compatibility on its own; suspension alone is not a sufficient diagnosis either. Follow the permissions and instructions for the actual components. Any antirotation hardware must suit the specified installation. Do not force the fit or improvise changes to the dropouts to accommodate an incompatible axle.
Rear hub: separate shifting from grip
At the rear, check spacing, axle type, the brake disc and the sprocket mounting: a freewheel and a cassette are not automatically interchangeable. Installation may require the gears to be adjusted. That adjustment enables correct shifting; it does not stop a tyre from slipping on the road. Grip also depends on the surface, tyre, load and the way assistance is delivered. A rear location does not guarantee confident starts in every situation.
Mid-drive: examine the mounting interfaces
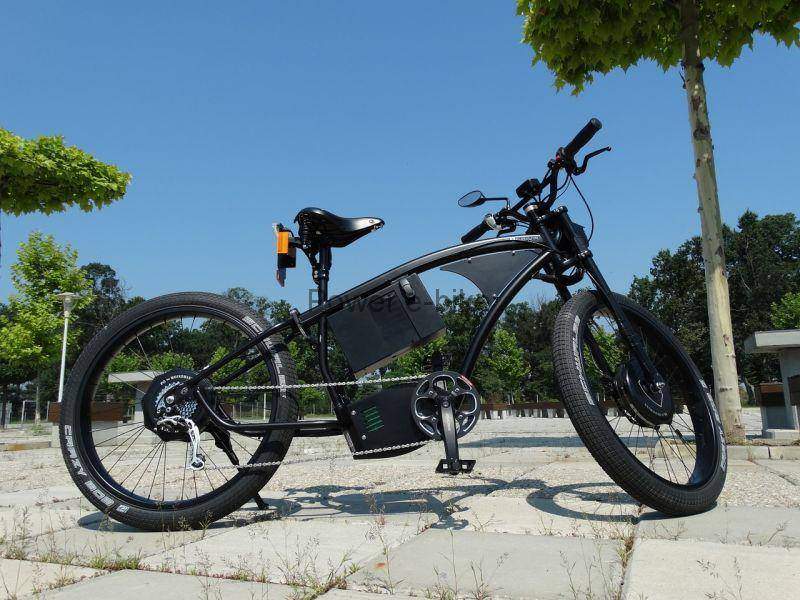
For a conversion, check the bottom bracket, frame clearances and chain alignment against the kit instructions. A central motor integrated into a production bicycle is not necessarily transferable to another frame. Because motor effort normally passes through the drivetrain, its condition and the use of appropriate gears need attention. A central position does not guarantee superior efficiency in every situation or complete protection from impacts. Check service access as well as physical space.
Hills and journeys: compare actual conditions
Describe the climbs, stops, luggage and surfaces on your usual route. Do not choose from a torque figure alone: a specification may describe torque at the motor shaft rather than at the wheel, and gearing matters depending on the system. Abrupt assistance can complicate riding on loose or slippery ground. No motor location removes the need to adapt effort, line and braking to the conditions. Compare complete bikes or documented combinations under relevant conditions.
Punctures and maintenance: know the procedure
Removing a wheel with a hub motor may involve disconnecting a plug and correctly refitting antirotation parts. Find the instructions before a puncture happens; do not pull on the cable or loosen unrelated parts. With a mid-drive, a puncture normally does not require motor removal, but the bicycle axle, brake and wiring instructions still apply. After refitting, check the items specified by the manufacturer before returning to use. Plan how to carry the necessary tools.
Budget: include the parts and service
Compare complete packages: any wheel building, battery, charger, sensors, controls, mounting parts and required work. The motor price alone is not the project cost. Find out how wear parts and documentation will be obtained. A cheaper initial choice may require adaptations; a higher price alone guarantees neither more range nor a better fit. Rules for using the completed bicycle must be checked separately for the country concerned, rather than inferred from the motor position.
Before choosing: collect the references
Record the bicycle, fork, axle, brake and drivetrain references. For each option, identify an installation manual and a maintenance procedure. Remove options with unresolved interfaces, then compare the remaining compatible choices against your route. This guide prepares that process; it does not approve a particular build remotely or promise speed or range. Keep the component references with the bicycle so that future servicing does not depend on guessing what was fitted.
Continue with the kit battery guide and the practical article on everyday journeys.
Technical references: Grin explains front/rear choices and antirotation hardware. These manufacturer documents are not universal approval for every installation. Grin: hub motor options · Grin: torque arms.